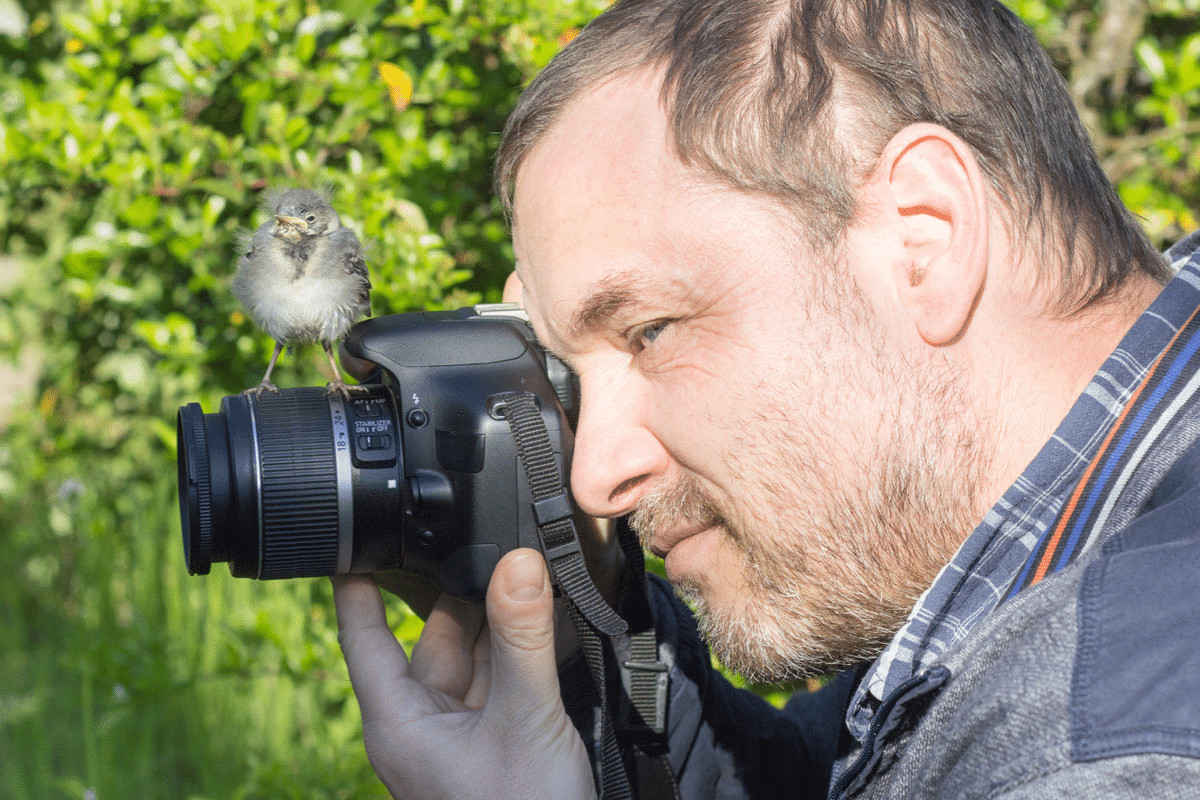
Once you start to notice the birds in your garden, it won’t be long before you want to capture the action on camera. How disappointing it can be though, when that colourful little blue tit performing in your birdbath ends up a smudgy confused blob in your photograph? Taking photographs of the birds in your garden can actually be a great place to start with wildlife photography. Although you could spend some money on a good camera, with a bit of planning and know-how, you can get great shots with a simple “point and shoot” camera or your smartphone. In this article, we’re going to show you how.
How to Take Good Photos of Birds in Your Garden.
Like all wildlife photography, getting good shots of birds in your garden is as much about planning, preparation as it is about equipment.
There are plenty of articles out there that will talk you through shutter speed, depth of field, ISO and aperture. But we’re not going to get too technical with you in this post. The advice we have for you here will help you photograph garden birds better whether you are using a DSLR, a point and shoot camera or a smartphone.
Bring in the Birds
99% of the time involved in wildlife photography is about waiting for the shot. One of the reasons photographing garden birds is such a great way to start is that the waiting can be done in the comfort of your own home.
But to do that you first need to attract birds to your garden. Check out our guides on how to attract birds to your garden for full details. But in summary, what you need is food, and water.
A well-stocked bird table and feeders, along with a birdbath, will soon bring a wealth of birds into your garden.
Set the Stage
Although bird feeders are a great way to attract birds into the garden photographing garden birds when they are actually on the feeder can be tricky. When they are feeding, birds tend to be moving around a lot, this can create a blurred and confused picture.
Birds like to perch before they come in to eat or bathe, so we recommend that you have a perching place by your feeders or bird table. The perch is the best place to photograph garden birds, so we need to make sure it is set up correctly.
The Right Perch
The perch is inevitably going to feature in your pictures, so what does it look like?
A tree or bush can form an excellent, natural-looking, perching place for the birds but is not so easy for the photographer. A maze of branches and foliage gives the birds lots of different places to perch, meaning you will be searching around for them with your lens. Branches and foliage very close to the bird can also create a confusing background.
Our feeders hang from a crab apple tree. We leave one branch long and un-pruned, this seems to be attractive to the birds as a perch and avoids the problems of competing branches and foliage.
For the photographer, though, a stand-alone perch might be better. This could be anything from a wooden stake or a garden spade or fork driven into the ground, a log, branch or some bamboo. Or even a garden chair or garden ornament.

The perch (or the part of the perch where the bird will sit,) shouldn’t be too big. Garden birds tend to be small, and a big perch will simply dwarf the subject of the photo.
Because it’s going to be in the photograph, the perch needs to be visually attractive, or at least neutral, and it’s better to go for a darker colour. A white or light coloured perch can be distracting or cause problems with glare.
Birds Eye View
For the best bird portraits you, the photographer need to be shooting at eye level to the bird. To make this easy on yourself don’t make your perch too high up or low down. Something 3 to 5 feet off the ground will be perfect.
Safety First
When setting up your perch, always keep the safety of your garden birds in mind, don’t let them become sitting targets for cats or other predators.
Background Scenery.
The bird is going to be the focus of your picture, and in most cases, the background will be very much blurred out. But it still deserves some though.
- Make sure that there aren’t too many distractions close to the bird. Flowers or foliage might look attractive, or they might just distract from the subject of the picture.
- Objects in the foreground can sometimes end up looking like they are growing out of the birds head – could be funny, but might not be what you are aiming for.
- Make sure the bird feeder isn’t in shot when you are focussed on the perch.
- Avoid highly patterned backgrounds, like patterned fences or walls. These may still be distracting even if not fully in focus.
- To ensure that the bird is the focus of the picture, try to make sure that the surrounding “background” is the same distance away from the bird as you are.
The background can make a real difference to the mood of your pic. Some people keep a selection of sheets of different coloured material to drape in the background, change the mood disguise any ugly or distracting features.
Positioning
Ideally, you should be aiming to shoot your picture with the sun behind you or coming in from the side.
If the sun is behind the bird, you are likely to end up with a silhouette. These can be lovely, but you do lose the detail of the bird.
If you are shooting with the sun behind you, check that your shadow is not visible in the frame.

Lighting and Timing
Because you are shooting in the garden, you will be reliant on natural light, so timing is everything.
You might think that bright, midday sunshine makes for an ideal shot. It doesn’t. Bright midday sun casts bold, sharp shadows that can distract from the subject of the picture. It also results in a very high contrast image which can suffer from glare.
Photographers talk about “the golden hour” as the best time for natural light photography. And happily, this tends to be the time when the birds are most busy.
The golden hour is actually often much longer than an hour in the UK and happens twice every day.
It’s the time in the early morning and early evening when the sun is lower in the sky, and the light is diffused and often golden. When the sun is lower in the sky, the light is coming to us at more of an angle. It has to travel through more of our atmosphere to get to us. This makes the sunlight less harsh and much better for photography.
You don’t have to be obsessive about this. This is meant to be fun, so go out and shoot whenever the mood takes you. Just bear in mind that photo’s taken at noon are probably not going to be masterpieces.
Instinct tells us that a sunny day is likely to produce better pics. But in reality, a bright but overcast day will do just as well if not better.
Know Your Kit
Whether you are using a smartphone or a top-of-the-range DSLR, it will pay you dividends to spend some time getting familiar with your camera settings ahead of time. Birds move fast, and when that perfect shot presents itself, you don’t want to be fiddling around looking for the right button.
Steady!
Camera shake can ruin a potentially great photo. Many cameras now have an anti-shake setting, which will compensate for wobbly hands. Seek it out.
Alternatively have something to rest your camera or your elbows on. Or you could invest in a tripod.
Up Close and Personal
Birds are tiny, and to get a good shot, you will need to get up as close to them as possible.
If the birds in your garden are used to having you around, you might be able to just sit in your usual garden chair, quiet and still, and take your pictures from there.
If your birds are a bit more jumpy other tactics are required. You could try positioning your feeders and perch closer to a window and shoot from the house. This method can have problems, though. If the feeders are too close to the house, you risk birds hitting the window. And the glass in the window can cause problems with glare, misting or dirt.
Another option is to hide in a shed or other garden building. Or you could buy a pop-up hide which should allow you to get really close, feel like David Attenborough, and get a bit of protection from the elements too.

Zoom?
If you are using an actual camera for your pictures, then an optical zoom lens will be a great help in photographing birds.
Many point and shoot or mid-range cameras will have a built-in zoom. If you are using a DSLR, get yourself a good 300-400mm zoom lens.
Remember that the use of a zoom lens exacerbates camera shake.
If you are using a mobile phone, we suggest you don’t use the zoom. The zoom on a mobile phone is not a real, or optical zoom, all it’s really doing is cropping the view. So you’ll notice you lose detail, and the picture can quickly become pixelated if you take a photo on zoom then want to blow it up, to print out for example.
For mobile photography, you are better to avoid zoom when you are shooting, then crop the picture later during editing, where you can control the composition better.
Focus
When you finally get to take your picture, remember to focus on the bird. This may sound obvious, but it’s easy to miss wing and tail tips. This can create interesting effects, or it can spoil the whole picture.
One-Hit Wonder
If you have a chance at the perfect picture, don’t just press that shutter button once – keep shooting! Birds move fast, a tiny movement might spoil your first attempt, or equally give you a fantastic picture that you didn’t even plan to take.
A Different Angle
We’ve talked a lot about setting up a “stage” for your bird photography with a perch. This is a great way to start, but the garden offers lots of other exciting opportunities for photographing birds.
Bath time. It can be a difficult shot, but if you capture a bird reflected in water, you’re going to have something special. Water does all sorts of interesting things with light and movement and its well worth spending some time with your camera watching the birdbath or pond and seeing what you can capture.
Bird on a wire. Or a treetop, or a roof. The birds-eye view creates a lovely detailed bird portrait, but you can create something different and exciting by snapping birds silhouetted against the sky.
Go Commando. For the ground feeders, spending some time flat on your stomach on the grass will give you a fantastic view. You’re likely to find yourself snapping bees, butterflies and daisies too. Maybe not the perfect photography position for December, but it’s great fun in the summer, the kids will want to join in too.

Patience is Key
As we said at the start of this article, 99% of wildlife photography is waiting. It needn’t be quite as bad as this if you are photographing garden birds. You will know roughly when they are going to turn up, and where.
But patience is still vital. Be prepared to spend some time quietly watching and waiting if you want to get that perfect shot.
Have Fun Photographing Birds in Your Garden
We hope we’ve given you some tips that will help you take better photographs of birds in your garden, whatever kind of camera you are using.
Even the most expensive camera won’t get you a good shot if you don’t put some thought and planning into the setup. And equally, with patience and luck, it’s entirely possible to capture professional-quality bird photographs with a smartphone.
Whatever you are using for your bird photography, the key is to have fun with it. It’s another way of spending time getting close to nature, and I think we all know by now how good that is for the soul.
We would love to see your garden bird photographs, share them with us in the comments below.


I’ve wanted a setup like this for a long time but didn’t know how to do it. It looks easy, but I’m sure I have hours to get it done. Thank you.