Do you want to keep your Rabbit Hutch, Bird Table or Hedgehog House in great condition?
As responsible pet owners, we need to take extra care to ensure the products we use are not harmful in any way. If you are looking to buy preservative paint for a hutch, run, shed or bird table, you need to make sure that it is 100% pet safe.

But what does it mean to be pet safe? In general terms, it means your rabbits, hedgehogs or birds can be in contact with it once dry and won't be at risk of harm. When shopping for protective wood paint, these are the key elements to look out for:
- Non-toxic
- Water-based or wax/acrylic
- VOC-free (volatile organic compounds)
- Free from carcinogens
- Free from petrochemicals
- Free from heavy metals
- Not creosote
How much paint will you need?
For a single-tier hutch of 4ft, we recommend approximately one litre of pet-safe paint for two coats.
For larger hutches or sheds of approximately 6ft, it's worth getting 2.5 litres to cover two coats.
Should you paint the inside of the hutch?
The biggest risk from wood preservative to animals are the toxic fumes from wet paint. But even dry, wood preservative paint can be harmful to your outdoor pets should if ingested.
While there are many pet-safe paints available, painting the interior of a rabbit, guinea pig or hedgehog house is not advisable.
Rabbits in particular love to chew, so we recommend that you leave them inside untreated.
The interior will degrade over time, but you can help to preserve the wood by cleaning the inside with pet-safe disinfectant once a month. Give it a scrub and let it dry before putting your pet back in.
Some pet owners will choose to treat the interior of the wood to maximise the lifespan of a hutch or shed. Though there are risks associated, these can be minimised by:
- Removing your pet while painting
- Using pet-safe paint (Cuprinol or Ronseal are both considered safe)
- Waiting until the preservative has dried before putting them back in.
This is about a week minimum but varies by environment and product.
- Lining the inside with mesh wire to restrict access to wood - see here for an example of this in practice.
- Regularly checking to ensure no areas of mesh have been chewed through.

How often should I treat the wood?
Wooden hutches can withstand weather damage with proper care.
This means a combination of keeping it covered, cleaning it and conditioning the wood with pet-safe preservative paint.
Two coats of preservative paint will achieve a rich colour and a healthy finish. With regular cleaning, you shouldn't need to treat the exterior of your hutch more than once a year.
How to apply a preservative to your rabbit or guinea pig hutch
If you are confident that the preservative you have purchased is safe for pets as per the above information, it’s time to paint.
While most preservative paint comes in standard wood colours, don’t hesitate to get creative if you can find pet-safe paint in other shades.
That said, your priorities should be pet safety and wood preservation.
As you prepare to clean and treat your pet’s hutch or house, make sure you have all the necessary supplies, including:
- Bucket
- Stiff brush
- Sponge
- Gentle dish soap
- Disinfectant
- Gloves
- Pet safe preservative paint
Step #1 - Remove your pet from the hutch or shed
No matter how safe the paint maybe, small animals like rabbits and hedgehogs have a heightened sense of smell. Make sure they are far away from the hutch and you have somewhere to house them while the paint dries.
Step #2 - Always check the weather before treating
We recommend treating the hutch during the dryer months of the year but always check the weather ahead of treatment. If too hot, humid or wet, the quality of the finish could be impacted.
Step #3 - Clean the hutch
Proper cleaning can make all the difference to the duration of the hutch. This can be done with hot soapy water. In the absence of wood cleaner, dish soap works well in removing tough stains.
Mix some soap and water in a bucket and use the solution to sponge the interior and exterior of the hutch. Take care not to soak the wood as this can cause it to rot. Instead, brush a sponge lightly over the surface and dry thoroughly with a cloth.
Step #4 - Apply the preservative paint
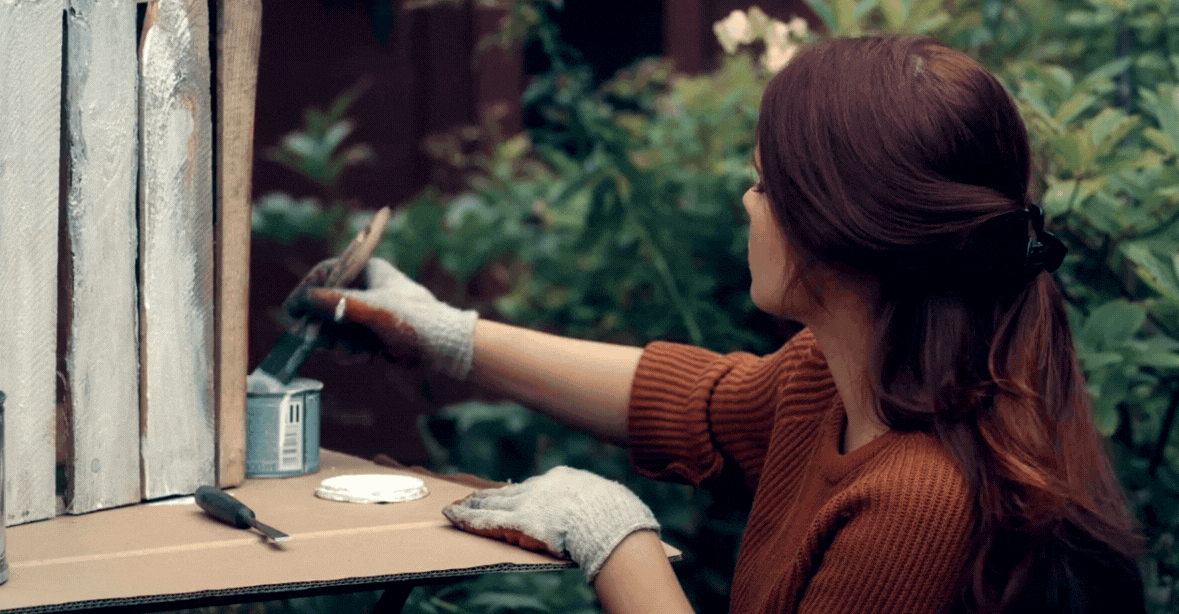
Open the pot and stir the paint to ensure colour consistency. Apply the first coat of paint to your rabbit or guinea pig hutch with a long-haired natural-bristle brush. When applying preservative, pay attention to areas that are likely to collect water and those in contact with damp soil if any.
Step #5 - Wait for the paint to dry
Is there nothing more exhilarating than watching paint dry?! If you are applying a second coat, wait for the first to dry for at least an hour before reapplying.
Step #6 - Air out the hutch and wait a week
If you can, try to wait at least a week before letting your pet back into their house. That way, you can be certain that the paint has fully dried and the fumes will have dissipated.
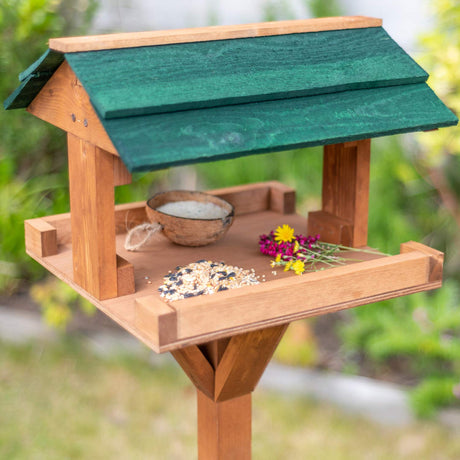
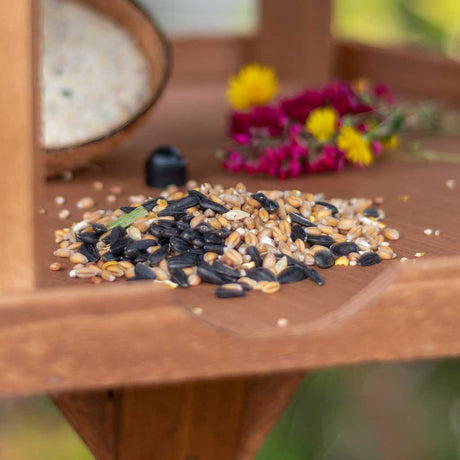
How can you preserve a wooden bird table?
Want to keep your bird table looking its best?
Cleaning and treating the wood regularly will help to preserve it in good condition.
When purchasing paint, it's important to keep in mind that birds have much faster respiratory systems than the average human. As a result, they cycle more air in and out and are more prone to harm from toxic fumes.
For this reason, we recommend only using paint that is free of VOCs - volatile organic compounds. This will be labelled on the product or within the description. As well as protecting animals, the benefit of low to no VOC paint is that it has very little odour, dries quickly and gives a durable finish.
How to apply a preservative to your bird table
From exposure to the elements, garden wood is susceptible to high levels of moisture followed by heat from the sun. As a result, the paint can crack and blister.
The best way to preserve the quality of your wooden bird table is to treat it annually with non-toxic paint. We recommend using water-based paint or wax-based acrylic paint where possible. These will condition and strengthen the wood from the inside.
As tempting as it may be to go bold on design, bright colours can draw in attention from dangerous predators. If painting your bird table for decorative purposes, it's best to stick to safe colours that won't put birds at risk of harm.
Step #1 - Bring the bird table indoors
Move your bird table somewhere dry such as a garage to allow for quick drying. Doing so will also ensure birds can’t land on the table while the paint is still wet.
Step #2 - Clean the bird table
Using protective gloves, mix together a weak bleach solution with warm water. Scrub the table thoroughly with the mixture to remove all traces of contamination. Refill the bucket with clean water and rinse the table well to remove all traces of bleach.
Step #3 - Let it dry
Before treating the wood, ensure the table has dried completely. This is an essential step as it will prevent mould or mildew from spawning in damp spots or crevices.
Step #4 - Sand down rough edges
If necessary, you may want to use some sandpaper to smooth down rough areas where the treatment has flaked off. When finished, wipe down with a dry cloth before painting.
Step #5 - Prime the wood
We recommend soaking the bird table in Cuprinol Clear wood preserver and allow it to dry fully before painting. This will tighten up any knots and give a uniform consistency to the wood.
Step #6 - Apply the paint
Begin by applying one layer of non-toxic paint (more on different options below) with a clean paintbrush. Avoid painting the tabletop where birds will land: though the paint is non-toxic, this will lower the risk of harm. Regular cleaning will help preserve this area.
Pay close attention to the base of the table when painting, as moisture can accumulate from wet grass. Paint thoroughly in these areas and wait for the first coat to dry for at least an hour before applying a second coat.
Step #7 - Give the paint time to dry
Ensure the paint has fully dried for at least 48 hours before returning the table to the feeding location. The longer you leave it to dry, the lower the risk of any potential harm and the fainter the odour of the paint.
What are the different types of preservative paint?
Whether you're painting a hutch, a shed, a birdhouse or table, you will need paint that is safe for all animals. Generally, this should be one of the following types:
Water-based paint
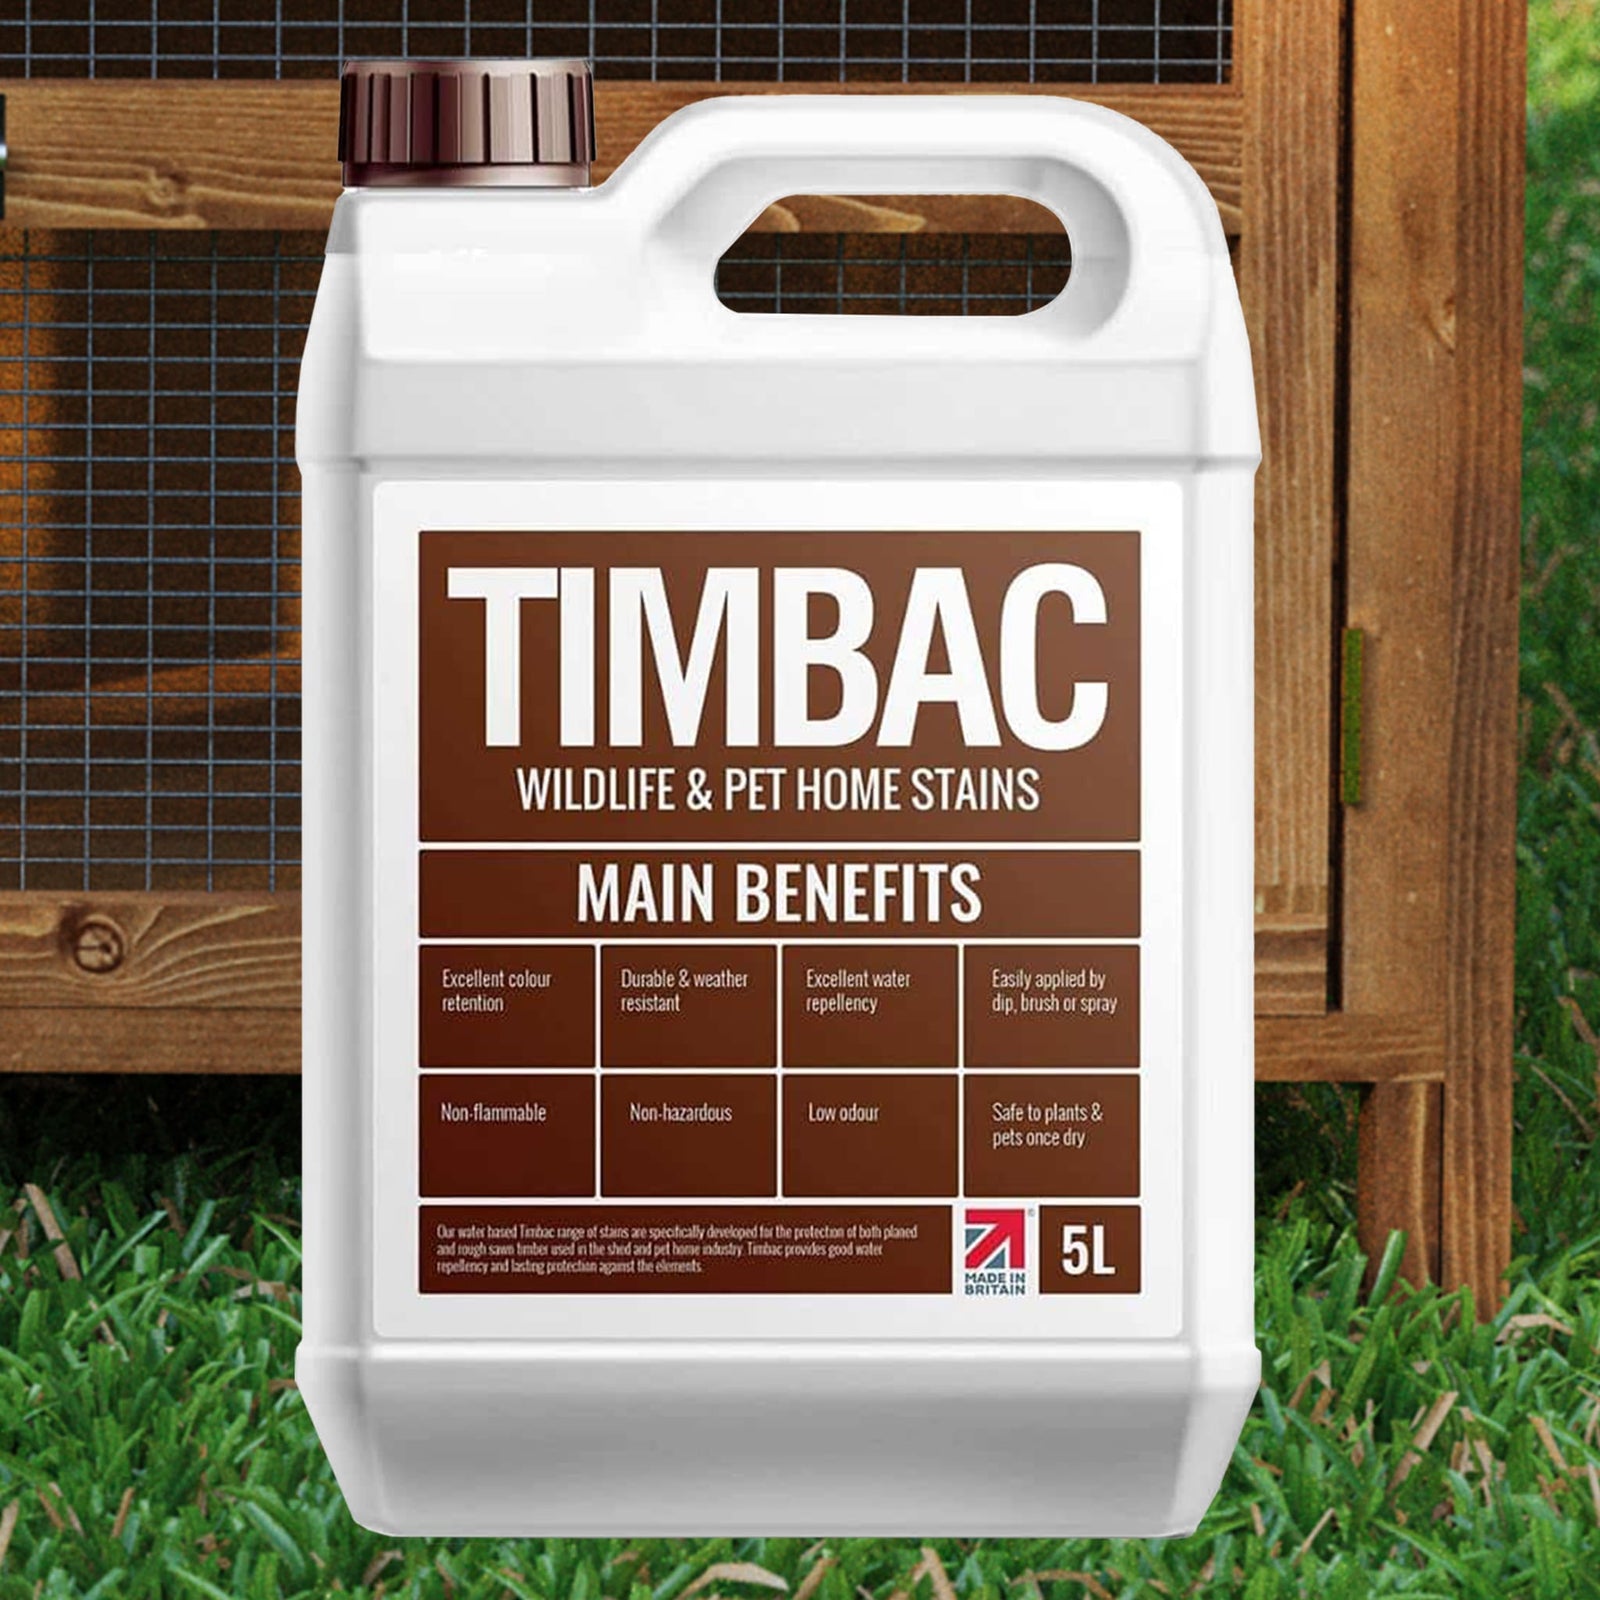
Water-based paint is considered a safe option for animals and used commonly by rabbit owners for hutches and runs. Using a water-based preservative can help to create a long-lasting waterproof coating. It is also free of heavy metals, turpentine and harmful solvents that are dangerous to animals.
Wax- acrylic paint
Wax-based paint is made from natural oils and waxes and is considered safe to humans, plants and animals. It contains no VOCs or Hydrocarbon solvents and can be used on outdoor wooden furniture. It leaves a smooth, clear finish and can enhance the longevity of the wood by enriching it with moisture.
You may also find combinations of the two - a water-based wood preservative with added wax and acrylic. This type of paint will help to preserve the colour while moisturising and protecting the wood.
The benefits of treating Rabbit Hutches, Birdtables & Outdoor Cat Houses
The better care you take of wooden furniture, the more use you will get out of it. Through rain, sun and snow, preservative treatment can give hutches, sheds and tables a strong protective coat and an attractive appearance.
Water or wax and acrylic based paints that are non-toxic are the only options you should be considering when shopping for preservative treatment. There are more than a few advantages to using these types of paint, including:
Health: Reduced toxins from the paint is better for everyone's health - both pets and their owners.
Safety: Low VOC paints that are non-toxic can be used to preserve wood without risking harm to your pets.
Protection: Your wooden furniture will fare better against the damaging effects of weather.
Duration: An annual coating of preservative paint can do wonders in keeping your item in great condition.
Water-Based: Easy clean up with soap and warm water.
Cost-effective: You can use wood preservative on all garden furniture that is likely to come into contact with animals. This will save you money on paint in the long run.
Finish: Water or wax-based paints with low VOC perform well in terms of coverage and finish.
With a range of pet-safe paints to choose from, you can keep your garden looking fresh while protecting animals in the process. We hope you found everything you needed from this guide - should you have any questions or comments, we’d love to hear from you.



1 comment
Hello . I am constructing a two foot by two foot by 50mm FLOATING platform to put a trail camera on , on a lake to film Otters . I need to paint the plywood in a paint that is safe for wildlife , water and fish . Does your Timbac comply , and where can I get it from please ?